Travel Tips
Editing Nepal Himalaya Photos: Tips and Workflow
Nepal's extreme light conditions — high-altitude glare, deep shadow valleys, and intense colour saturation — require specific editing approaches to produce images that match what your eye saw on location.
Overview
Nepal photographs present consistent editing challenges. The combination of high-altitude UV intensity, extreme dynamic range between sunlit peaks and shaded valleys, and the orange-to-blue colour shift from dawn through midday requires a specific editing approach rather than generic travel photo presets.
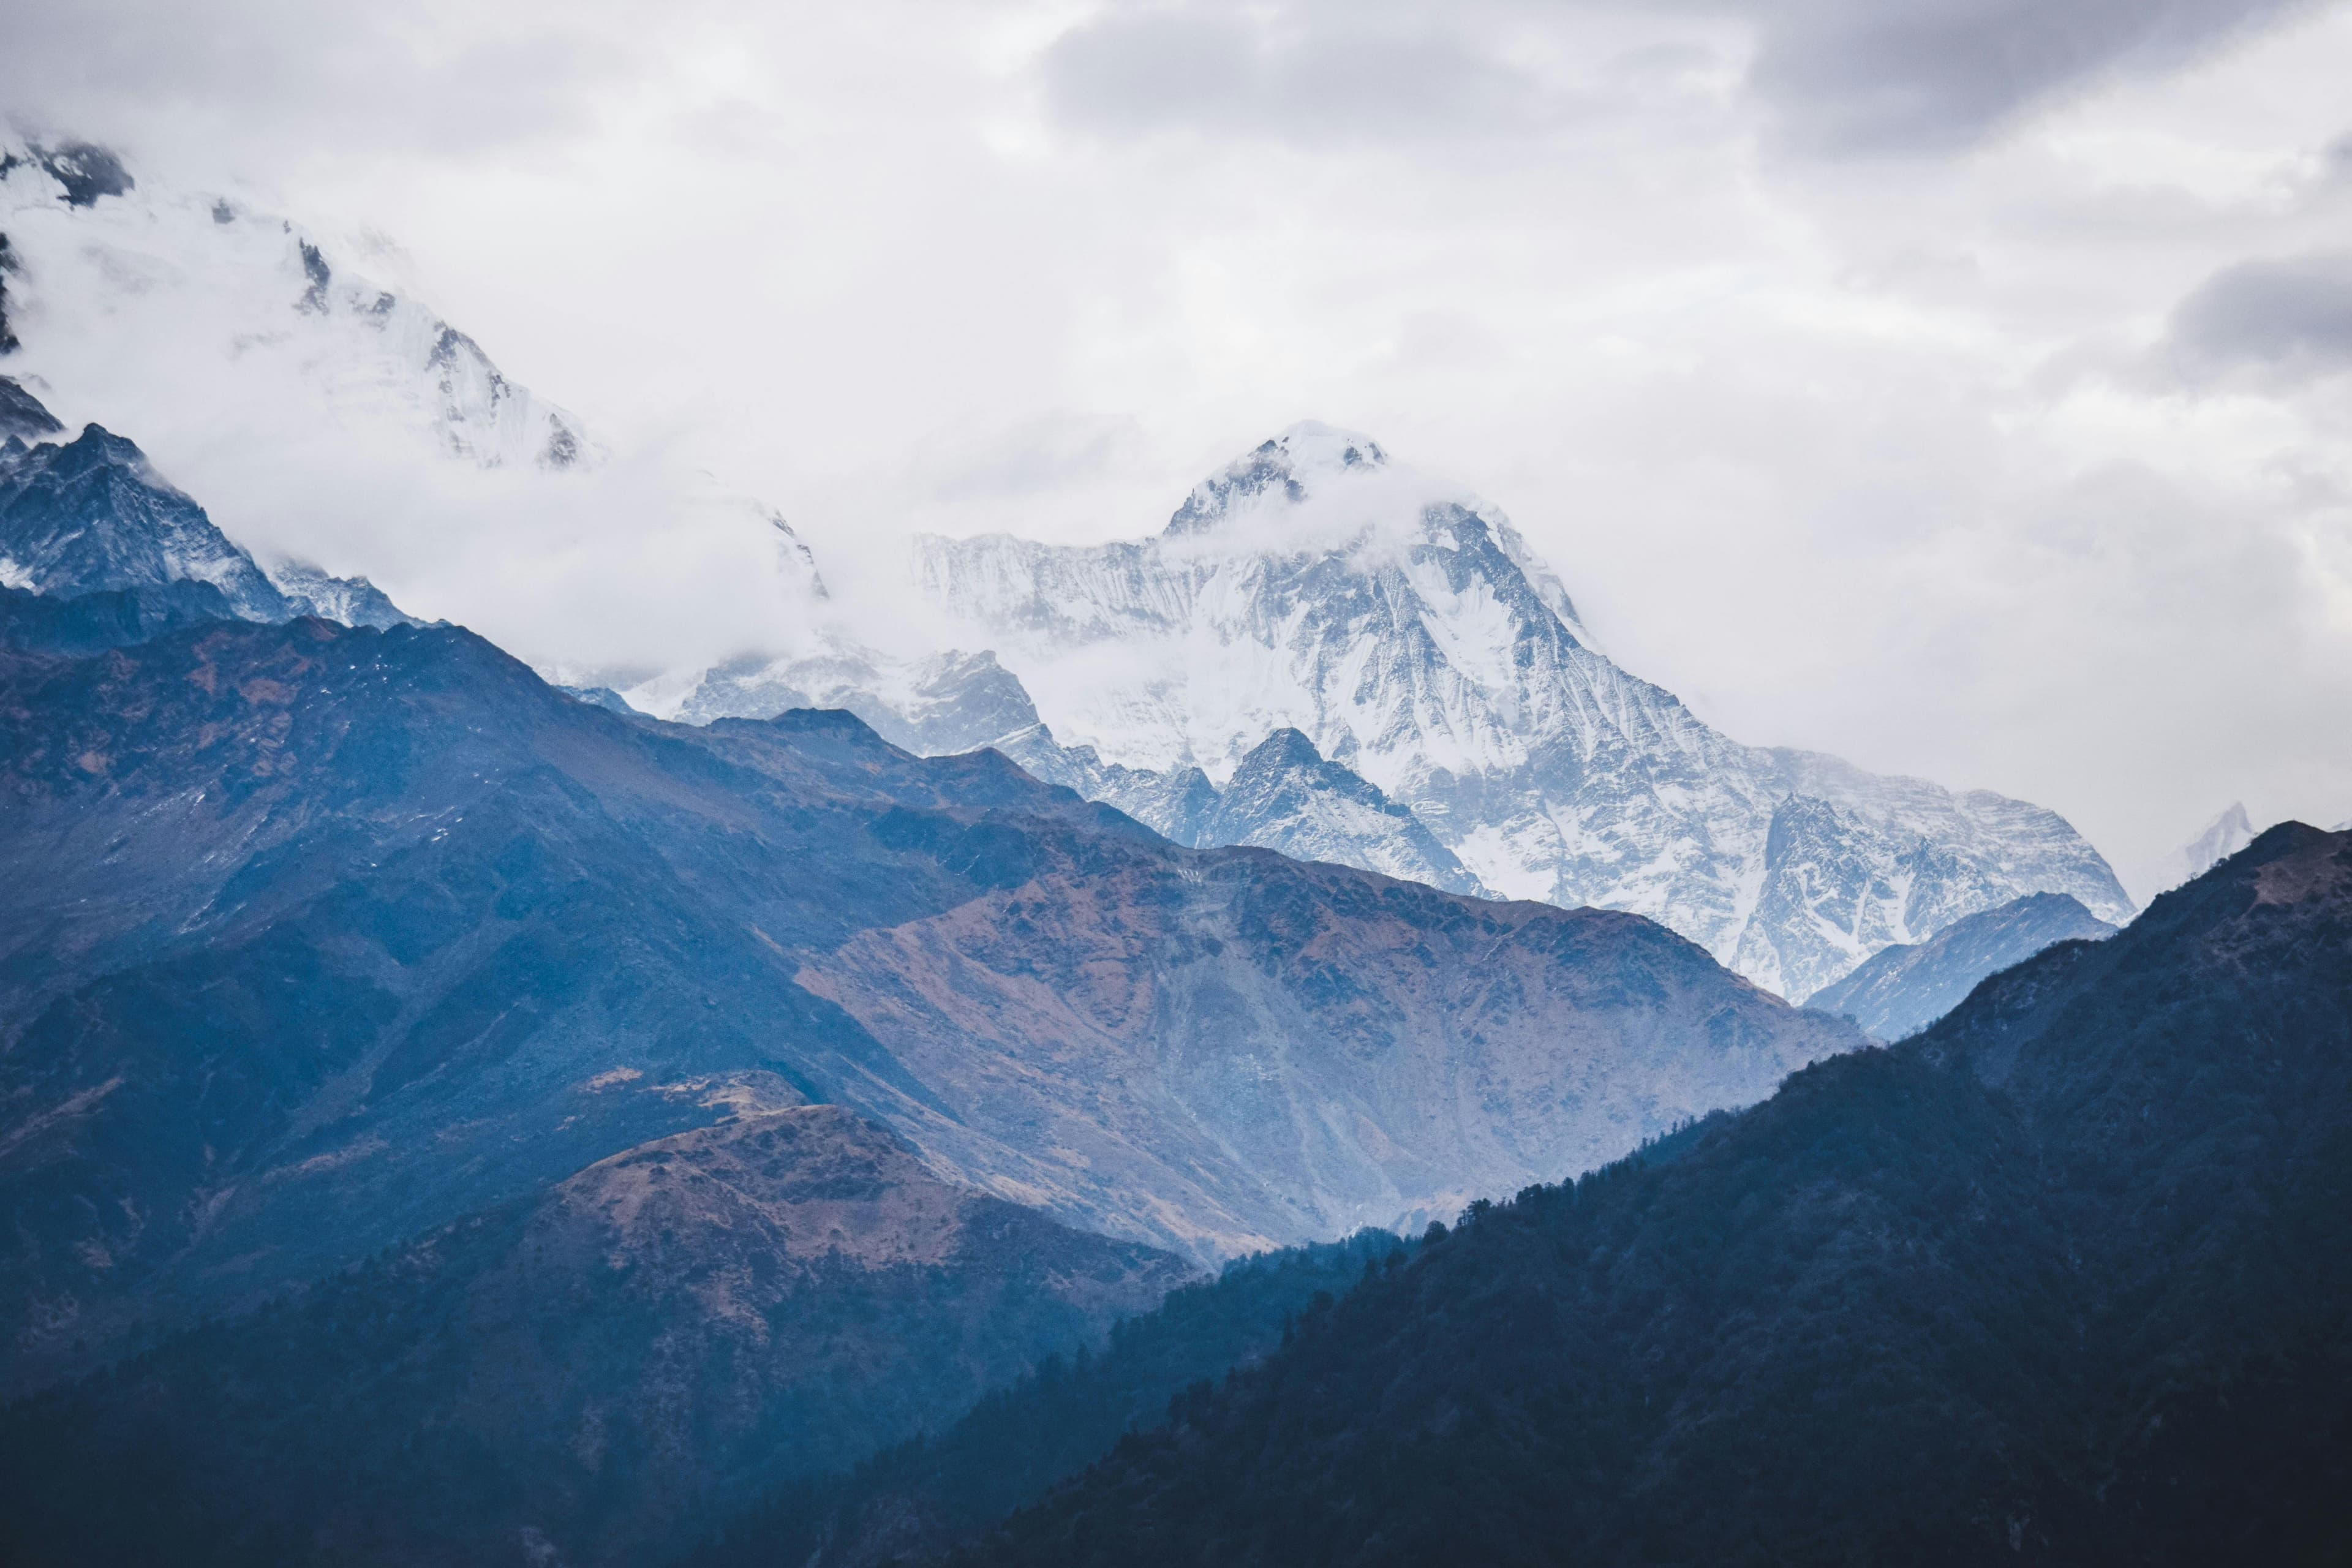
The first priority in any Nepal Himalaya image is highlight recovery on snow. Blown-out snow faces are the most common Nepal photo failure — they read as flat white instead of textured snow with shadow detail. In Lightroom, drop highlights to -70 to -100 before any other adjustment. On RAW files shot at base ISO, two to three stops of recovery are available.
Shadow lifting in valley foregrounds is equally important. The Himalayan sun creates extreme shadow contrast in narrow valleys and alleys. Lift shadows +30 to +60, then use a gradient or range mask to apply the lift only to the shadow zones, protecting the already-recovered highlights.
Colour correction: Nepal's high altitude UV shifts the colour temperature bluer than the human eye perceives. Warming the overall image by 200–400K restores the golden quality of morning light. Be careful with saturation — Nepal's natural saturation is already extreme. Use vibrance (which protects already-saturated tones) rather than global saturation to add richness without the oversaturated look.
Planning this trip? 🎒
Don't stress about transport or guides. Sajilo offers verified cabs, luxury tourist buses, and expert guides across Nepal.
For festival and street images in Kathmandu's narrow alleys: local contrast (clarity and texture in Lightroom) brings out the carved wood and brick texture that defines these environments.
FAQ
What Lightroom preset works best for Nepal mountain images? Purpose-built presets for alpine environments are better starting points than generic travel presets. Adjust highlight recovery as the first override on any preset.
How do I reduce atmospheric haze in telephoto Himalaya shots? The Dehaze slider in Lightroom is the most effective tool. Use +20 to +50. Excessive dehaze (above +60) creates an artificial crunchy look.
Should I shoot sRGB or Adobe RGB for Nepal photos? Adobe RGB (or RAW with wide gamut output) captures more of the saturated colour Nepal produces. If images are for social media only, the difference is invisible — both are fine.