Travel Tips
Exposure Settings for Mountain Photography in Nepal
Nail the technical settings for sharp, well-exposed shots of the Himalayas.
Overview
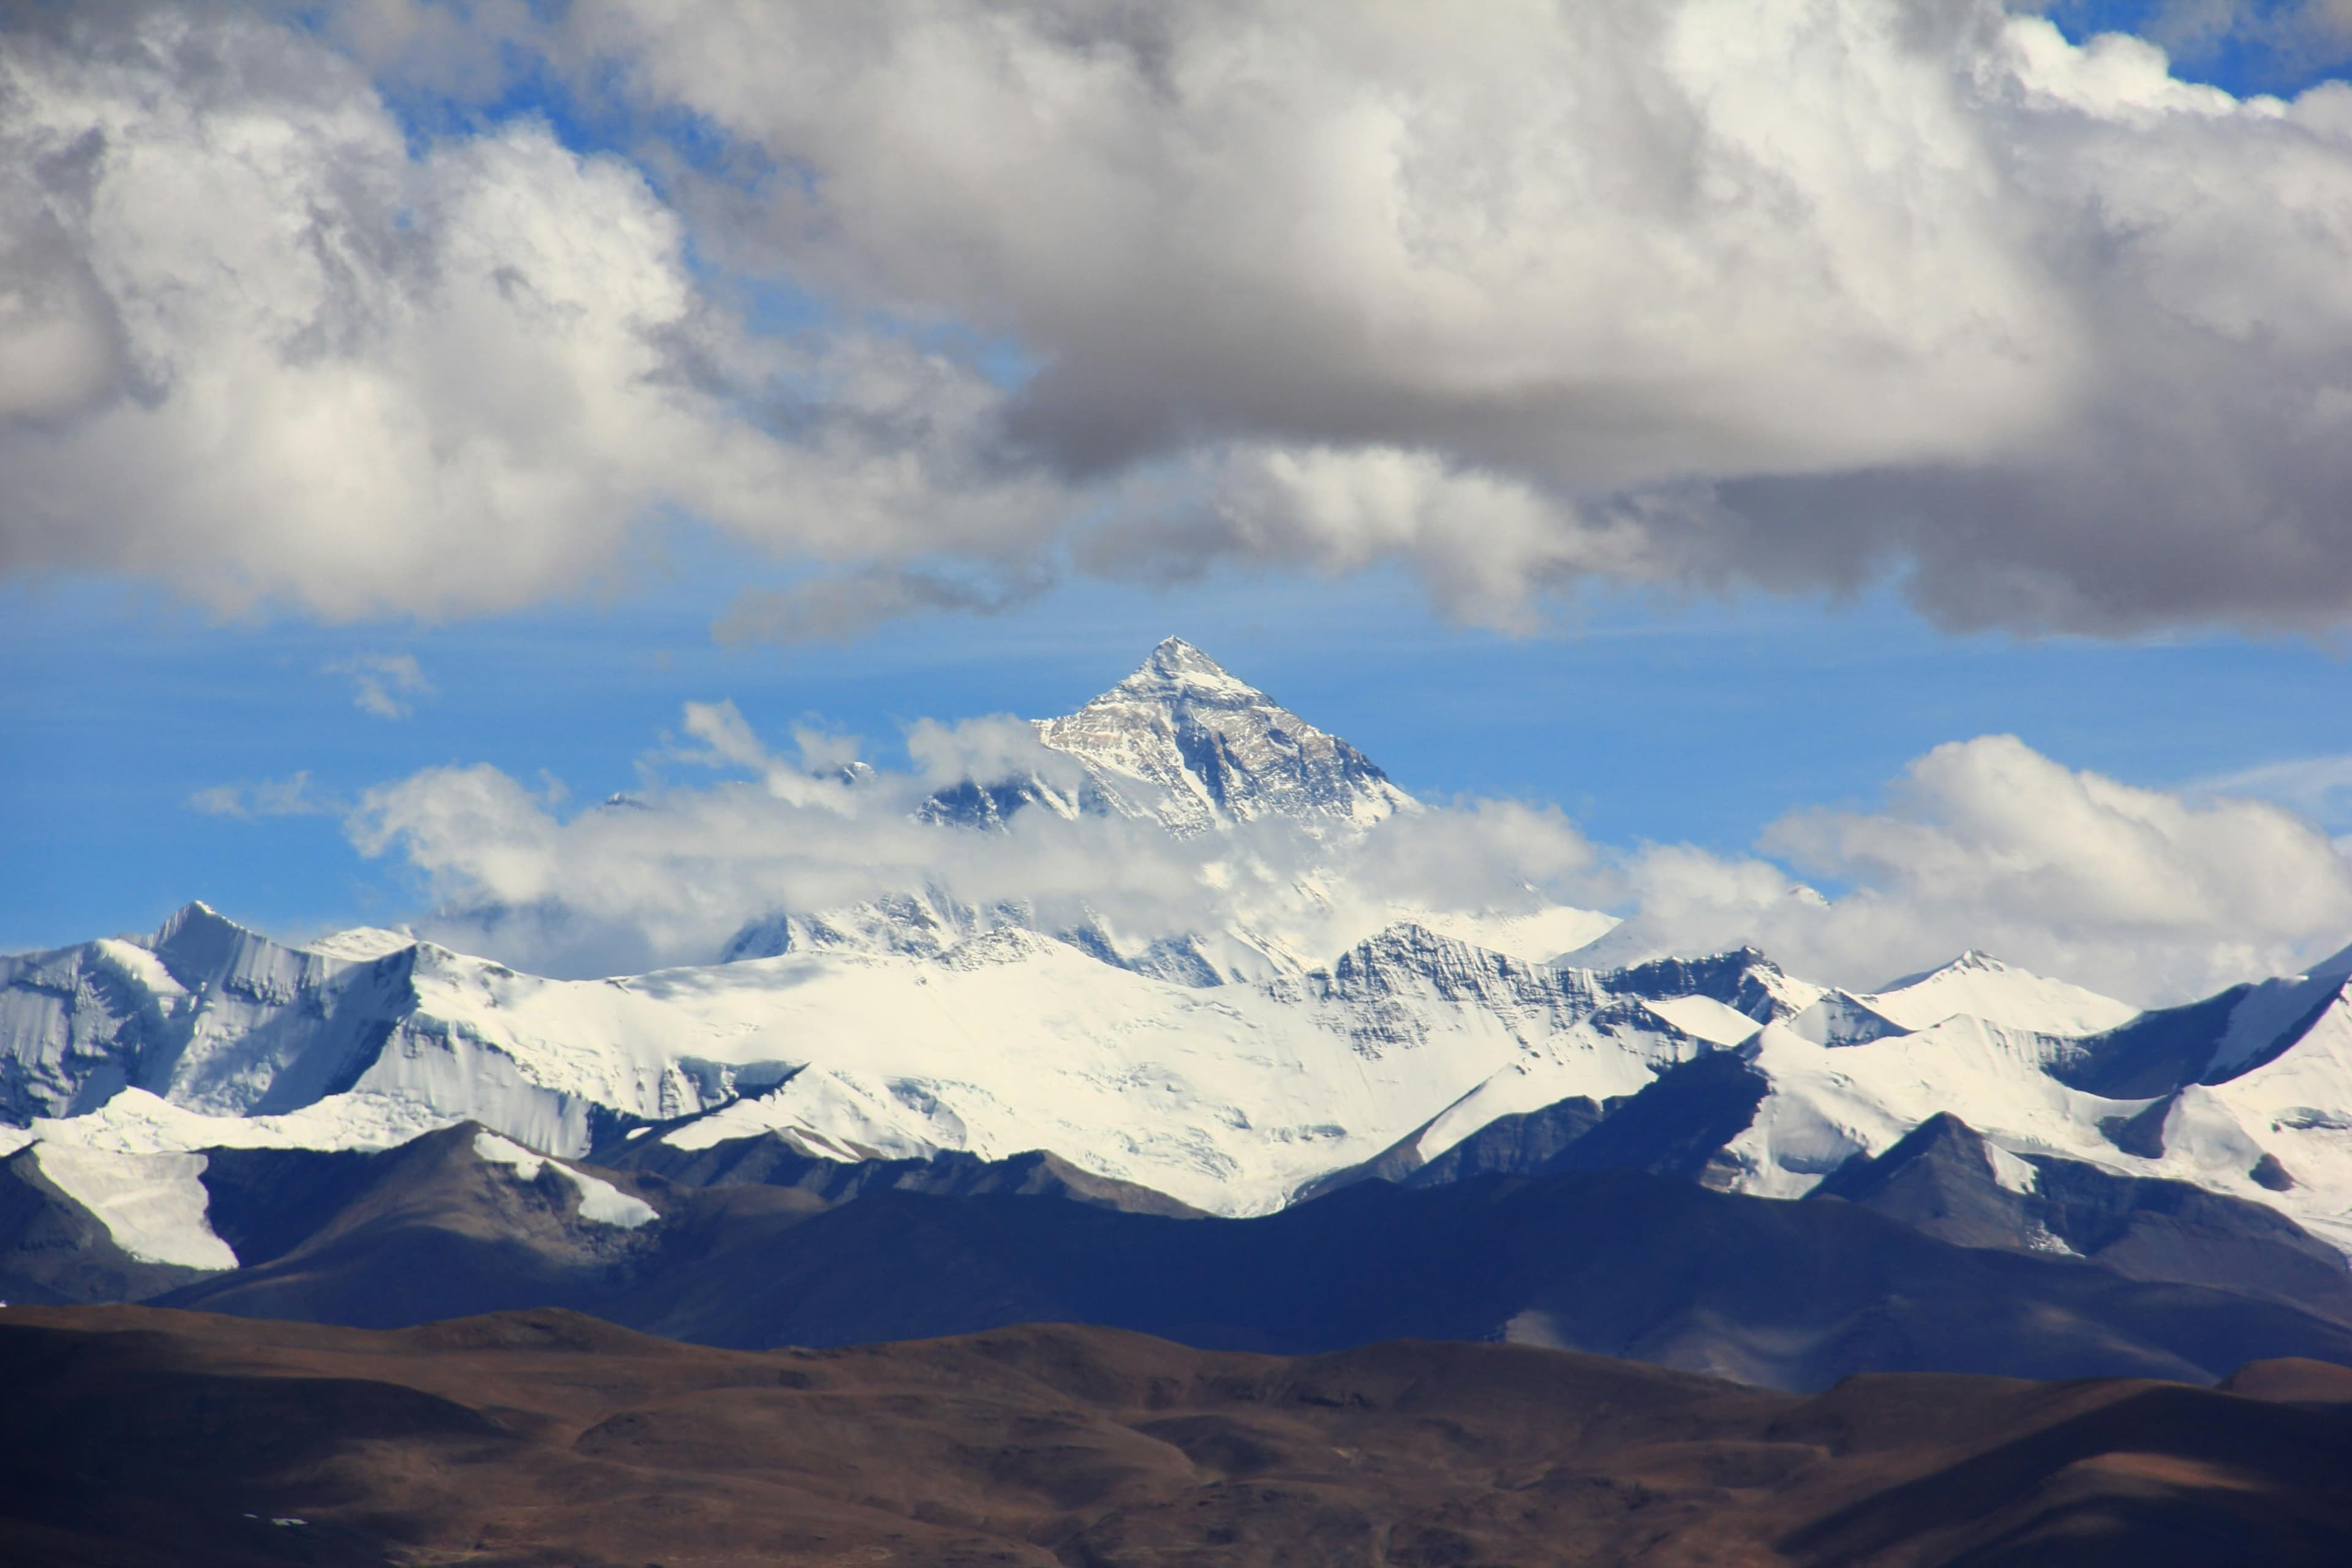
Himalayan mountain photography presents one of the most technically demanding exposure challenges in landscape photography. You are dealing with extreme contrast (brilliant white snow against deep blue sky), rapidly changing light (the alpenglow window at sunrise lasts eight to twelve minutes), and difficult shooting conditions (cold hands, windy ridges, limited tripod stability). Understanding the underlying exposure principles rather than relying on the camera's automatic judgement is essential.
Understanding the Histogram
The histogram is your most valuable tool for Himalayan photography. Snow-covered peaks in direct sunlight push exposure toward the right of the histogram (bright tones). If your camera's metering system sees a large area of bright white, it will typically underexpose to bring that white closer to middle grey. Override this by adding +1 to +2 stops of exposure compensation when shooting snow-dominated scenes.
In predawn alpenglow, the mountain is lit by soft reflected light from the atmosphere — much lower contrast than direct sunlight. Reduce exposure compensation to 0 or even -0.3 EV to preserve the subtle pink and orange gradations in the snowfields.
Suggested Settings by Situation
Alpenglow sunrise (EBC/Kala Patthar): ISO 400, f/8, shutter speed around 1/60s to 1/125s on a tripod. Adjust as light improves.
Planning this trip? 🎒
Don't stress about transport or guides. Sajilo offers verified cabs, luxury tourist buses, and expert guides across Nepal.
Midday mountain panorama (Sarangkot viewpoint): ISO 100–200, f/8–f/11, shutter speed 1/250s–1/500s depending on light.
Afternoon storm clearing (common in monsoon border season): ISO 800–1600, f/4–f/5.6 for faster shutter to freeze cloud movement, around 1/500s.
Star trails above peaks (long exposure): ISO 800–1600, f/2.8, 20–25 seconds per frame for a star-point image or stack multiple 20-second exposures for trail effect.
Depth of Field for Mountain Landscapes
Most mountain compositions benefit from maximum depth of field (f/8 to f/11 on full-frame cameras at or beyond infinity focus). However, if you are including a prayer flag in the foreground at close focus distance, use f/11 to f/16 to keep both the flag and the distant mountain acceptably sharp. Check focus on your rear screen at 100 percent magnification before moving on — a slightly soft peak is devastating on a large print.
White Balance for Snow
The colour temperature of mountain light changes dramatically from predawn (very blue, 6500–7000 K) through golden hour (warm, 3200–4000 K) to midday (neutral, 5500 K). Shooting in RAW gives you complete white balance flexibility in post. If you shoot JPEG, set white balance to "shade" during golden hour to preserve warmth, and "daylight" for midday scenes. Avoid "auto" white balance on mountain shots — it often neutralises the very colour quality that makes the image worth taking.
FAQ
Q: How do I prevent blown highlights on snow?
Use your camera's highlight alert (blinkies) in playback mode to identify overexposed areas. Dial exposure compensation down in 1/3 stop increments until the blinkies disappear from the snow surface. A small amount of overexposure in snow texture is acceptable — complete white with no texture is not recoverable in post.
Q: Should I use a polarising filter on mountain landscapes?
Yes, when shooting with the sun at roughly 90 degrees to your lens axis. A polarising filter deepens the blue sky dramatically, increases cloud contrast, and can reduce glare on glacial ice. Rotate the filter in the mount while watching the effect on your live view or EVF.
Q: What is the minimum shutter speed for a handheld telephoto shot of a distant peak?
As a rough rule, use at least 1/(focal length) seconds — so 1/400s for a 400 mm lens, 1/500s for 500 mm. With modern image stabilisation systems (optical in the lens or in-body IBIS), you can often go two to four stops slower. But for the critical shots, a tripod eliminates the question entirely.