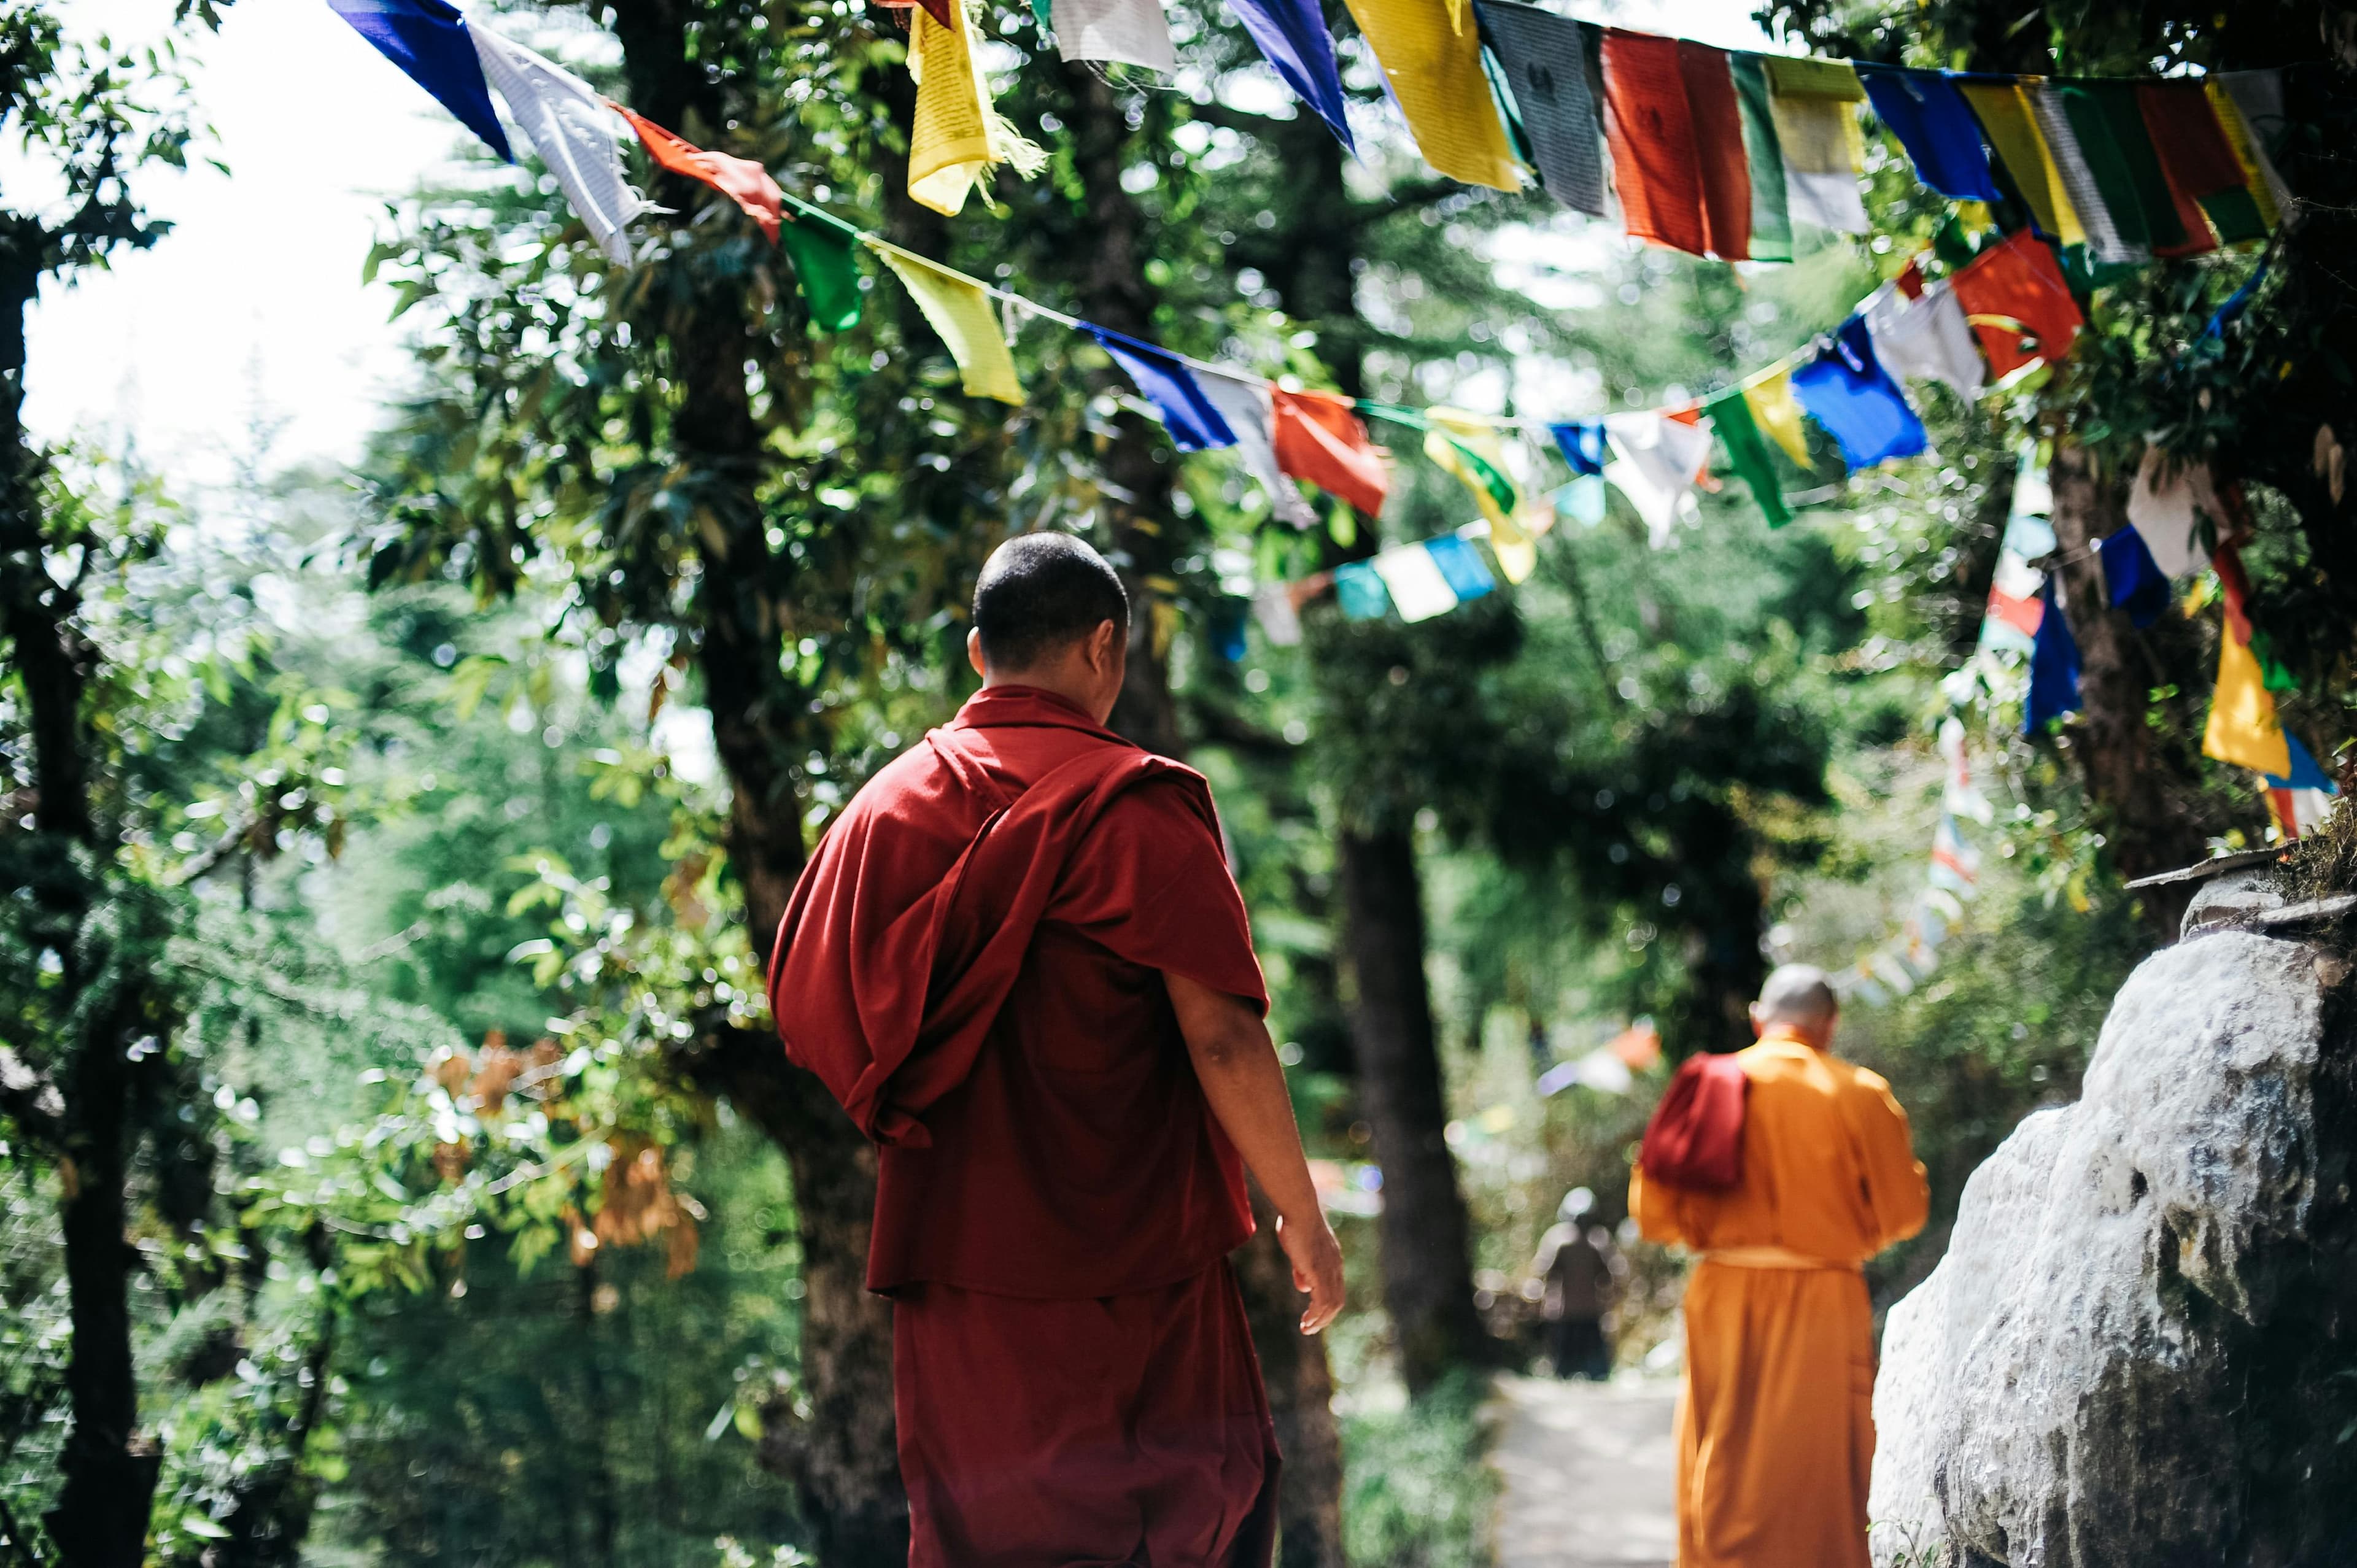
Travel Tips
Himalayan Sunrise Photography: Complete Technical Guide
Himalayan sunrise photography rewards preparation and technical precision. This guide covers every variable — from the right camera settings in extreme cold to the positions that deliver the most compelling compositions at the most celebrated viewpoints.
Himalayan sunrise is among photography's most challenging and rewarding subjects. The combination of extreme cold, limited light, high altitude, and fleeting optimal conditions means most visitors leave with mediocre shots of one of the world's great subjects. Preparation eliminates every avoidable variable.
Understanding Himalayan Dawn Light
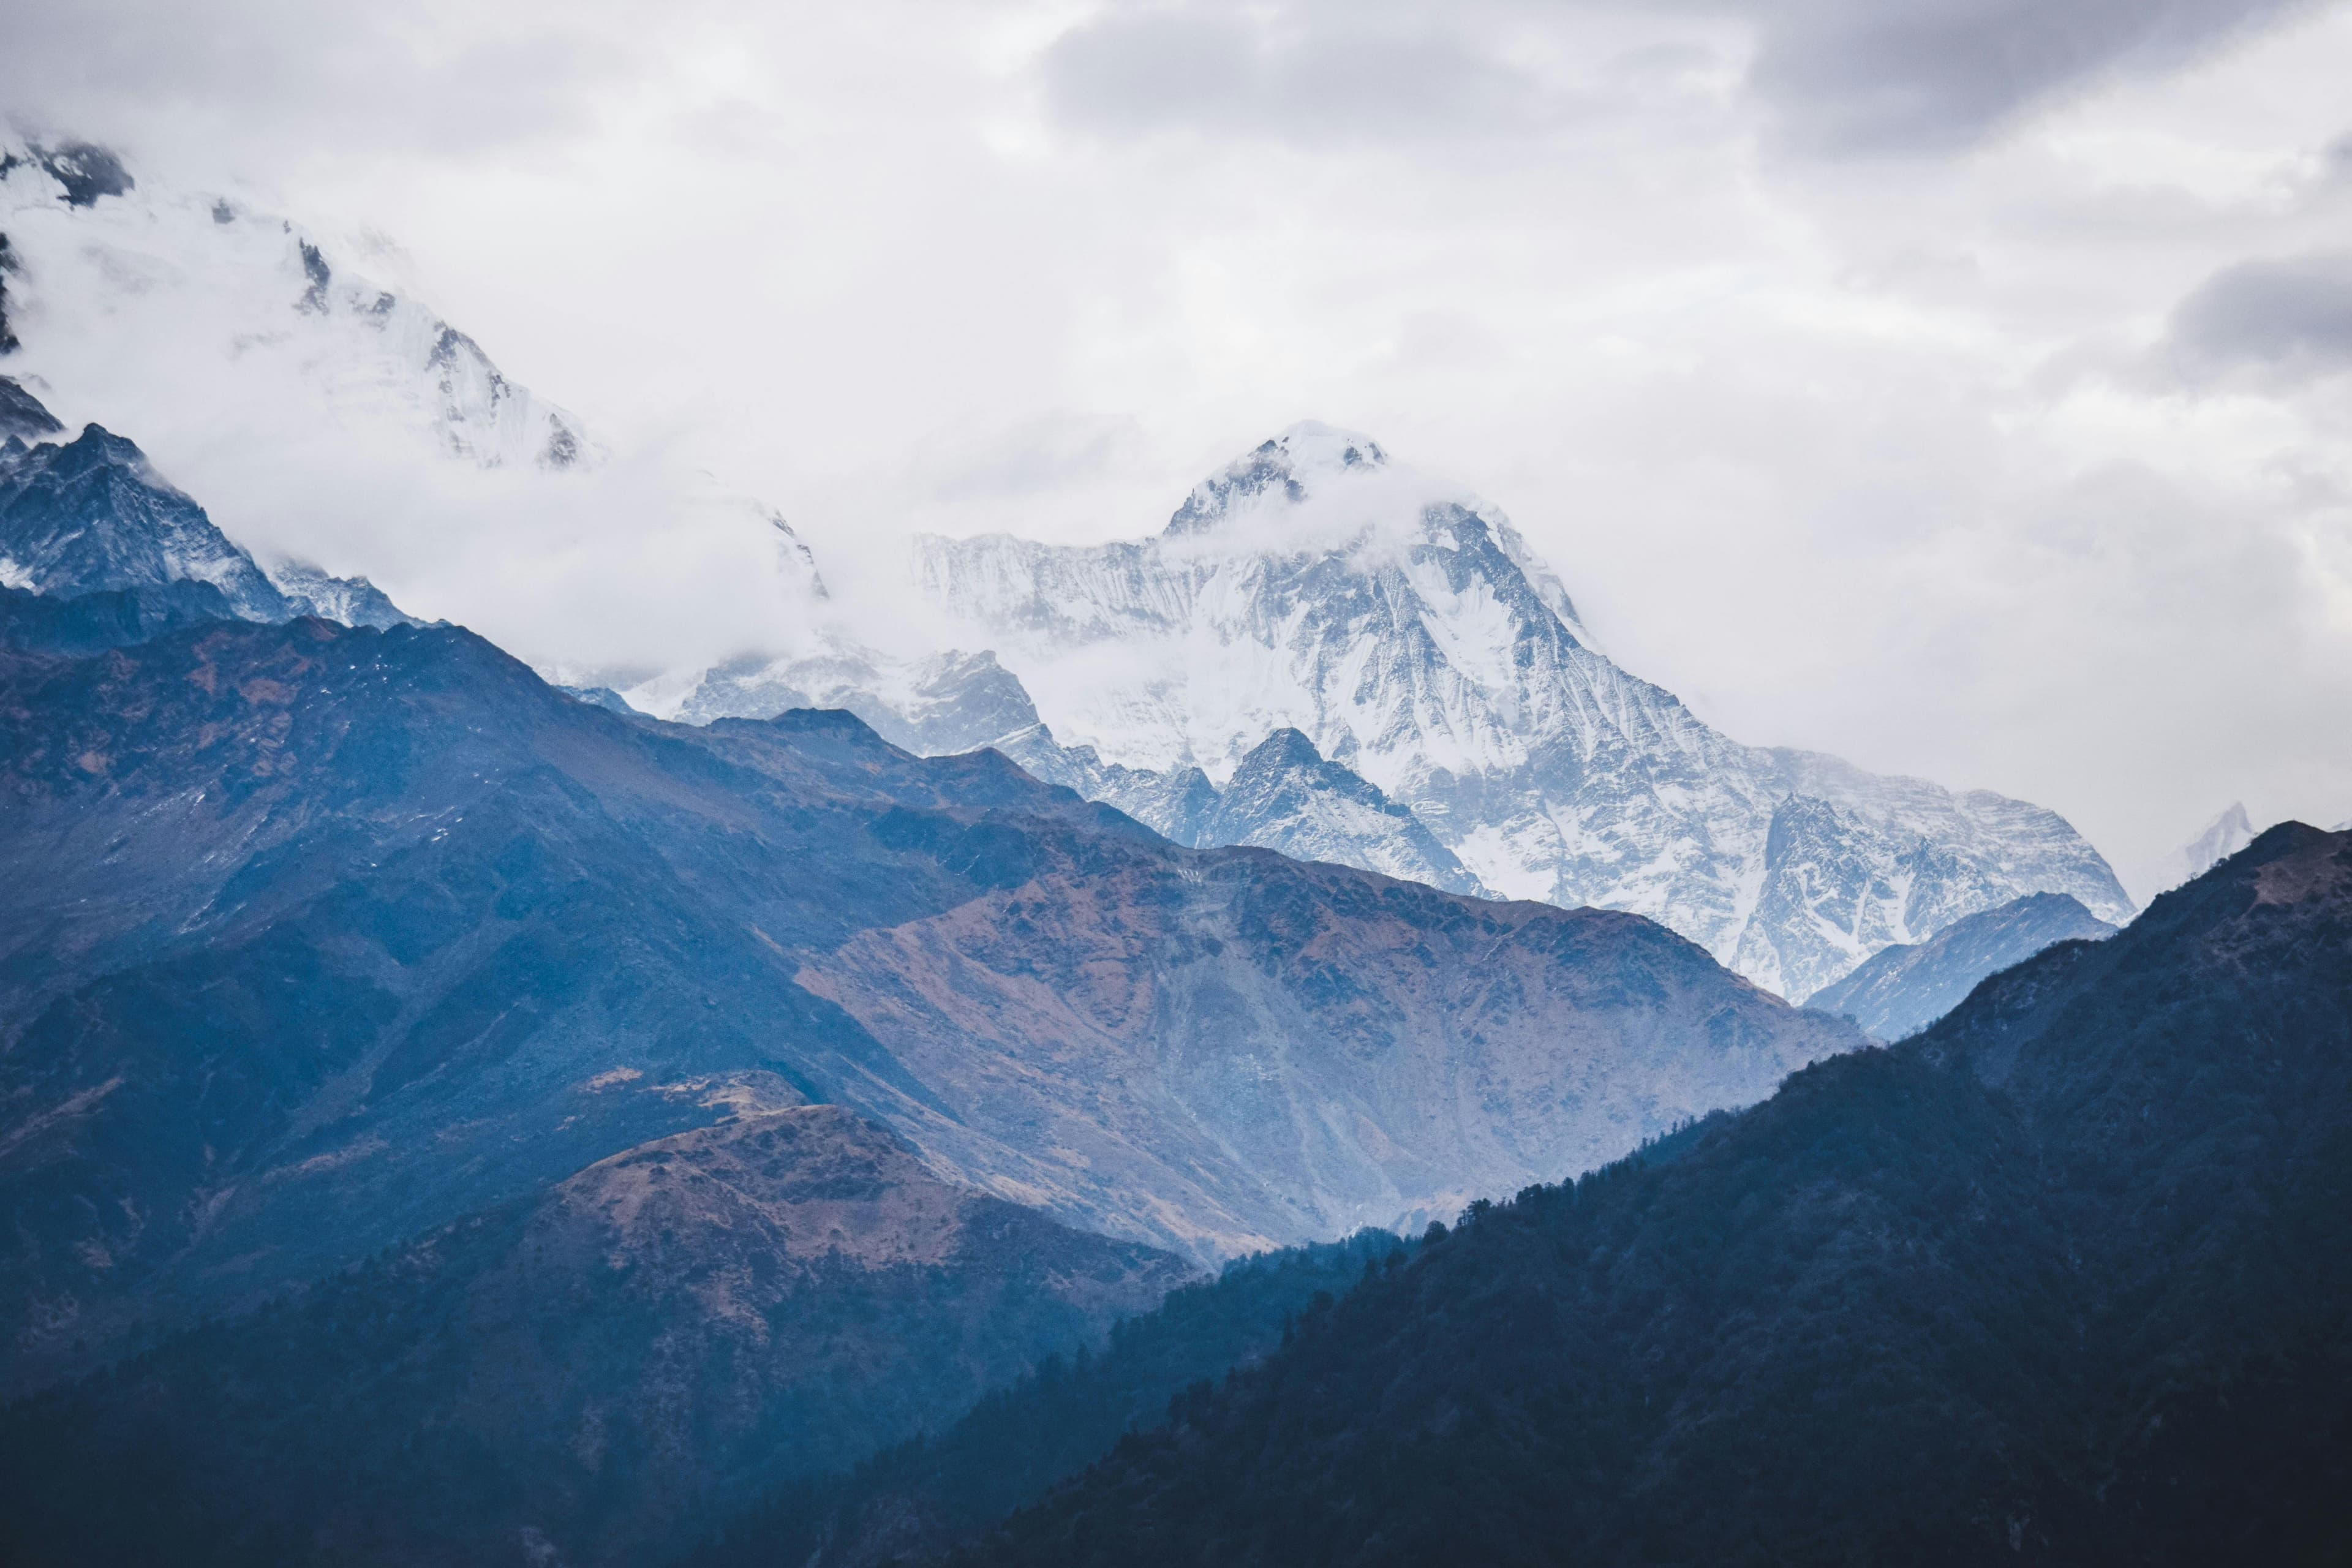
The alpenglow phase — the warm pink and orange light on high peaks before the sun clears the horizon — is the primary target. This phase lasts 10–20 minutes. The moment the sun rises above the eastern ridge, the quality of light shifts to harsh, flat white that loses the emotional warmth that makes Himalayan sunrise images compelling.
Your position must be fixed and composition pre-planned before alpenglow begins. Arriving in darkness and setting up by headlamp is the discipline — not arriving at dawn and scrambling for a position.
Cold Weather Battery Management
At -15 degrees (typical Kalapatthar or Poon Hill predawn), lithium batteries lose 40–60% of their rated capacity. Protocol: keep spare batteries in an inner chest pocket against your body; insert the body-warmed battery into the camera 5 minutes before you need it; keep the camera under your jacket between shots; carry at least three batteries for a 90-minute dawn session.
Planning this trip? 🎒
Don't stress about transport or guides. Sajilo offers verified cabs, luxury tourist buses, and expert guides across Nepal.
Exposure in Extreme Dynamic Range
Himalayan sunrise creates extreme dynamic range between the dark foreground and illuminated peaks. Use a graduated ND filter to darken the sky zone, or bracket exposures at -2, 0, +2 EV and blend in post. Shoot RAW — mandatory for recovery latitude in high-altitude HDR scenes.
Composition Principles at Major Viewpoints
Poon Hill (3,210m): Use flags as leading lines toward Dhaulagiri. Avoid centering Annapurna South — a slight left composition with Machhapuchhre in the right frame creates better balance.
Kalapatthar (5,545m): Position yourself on the main summit rocks for maximum elevation and unobstructed sightline.
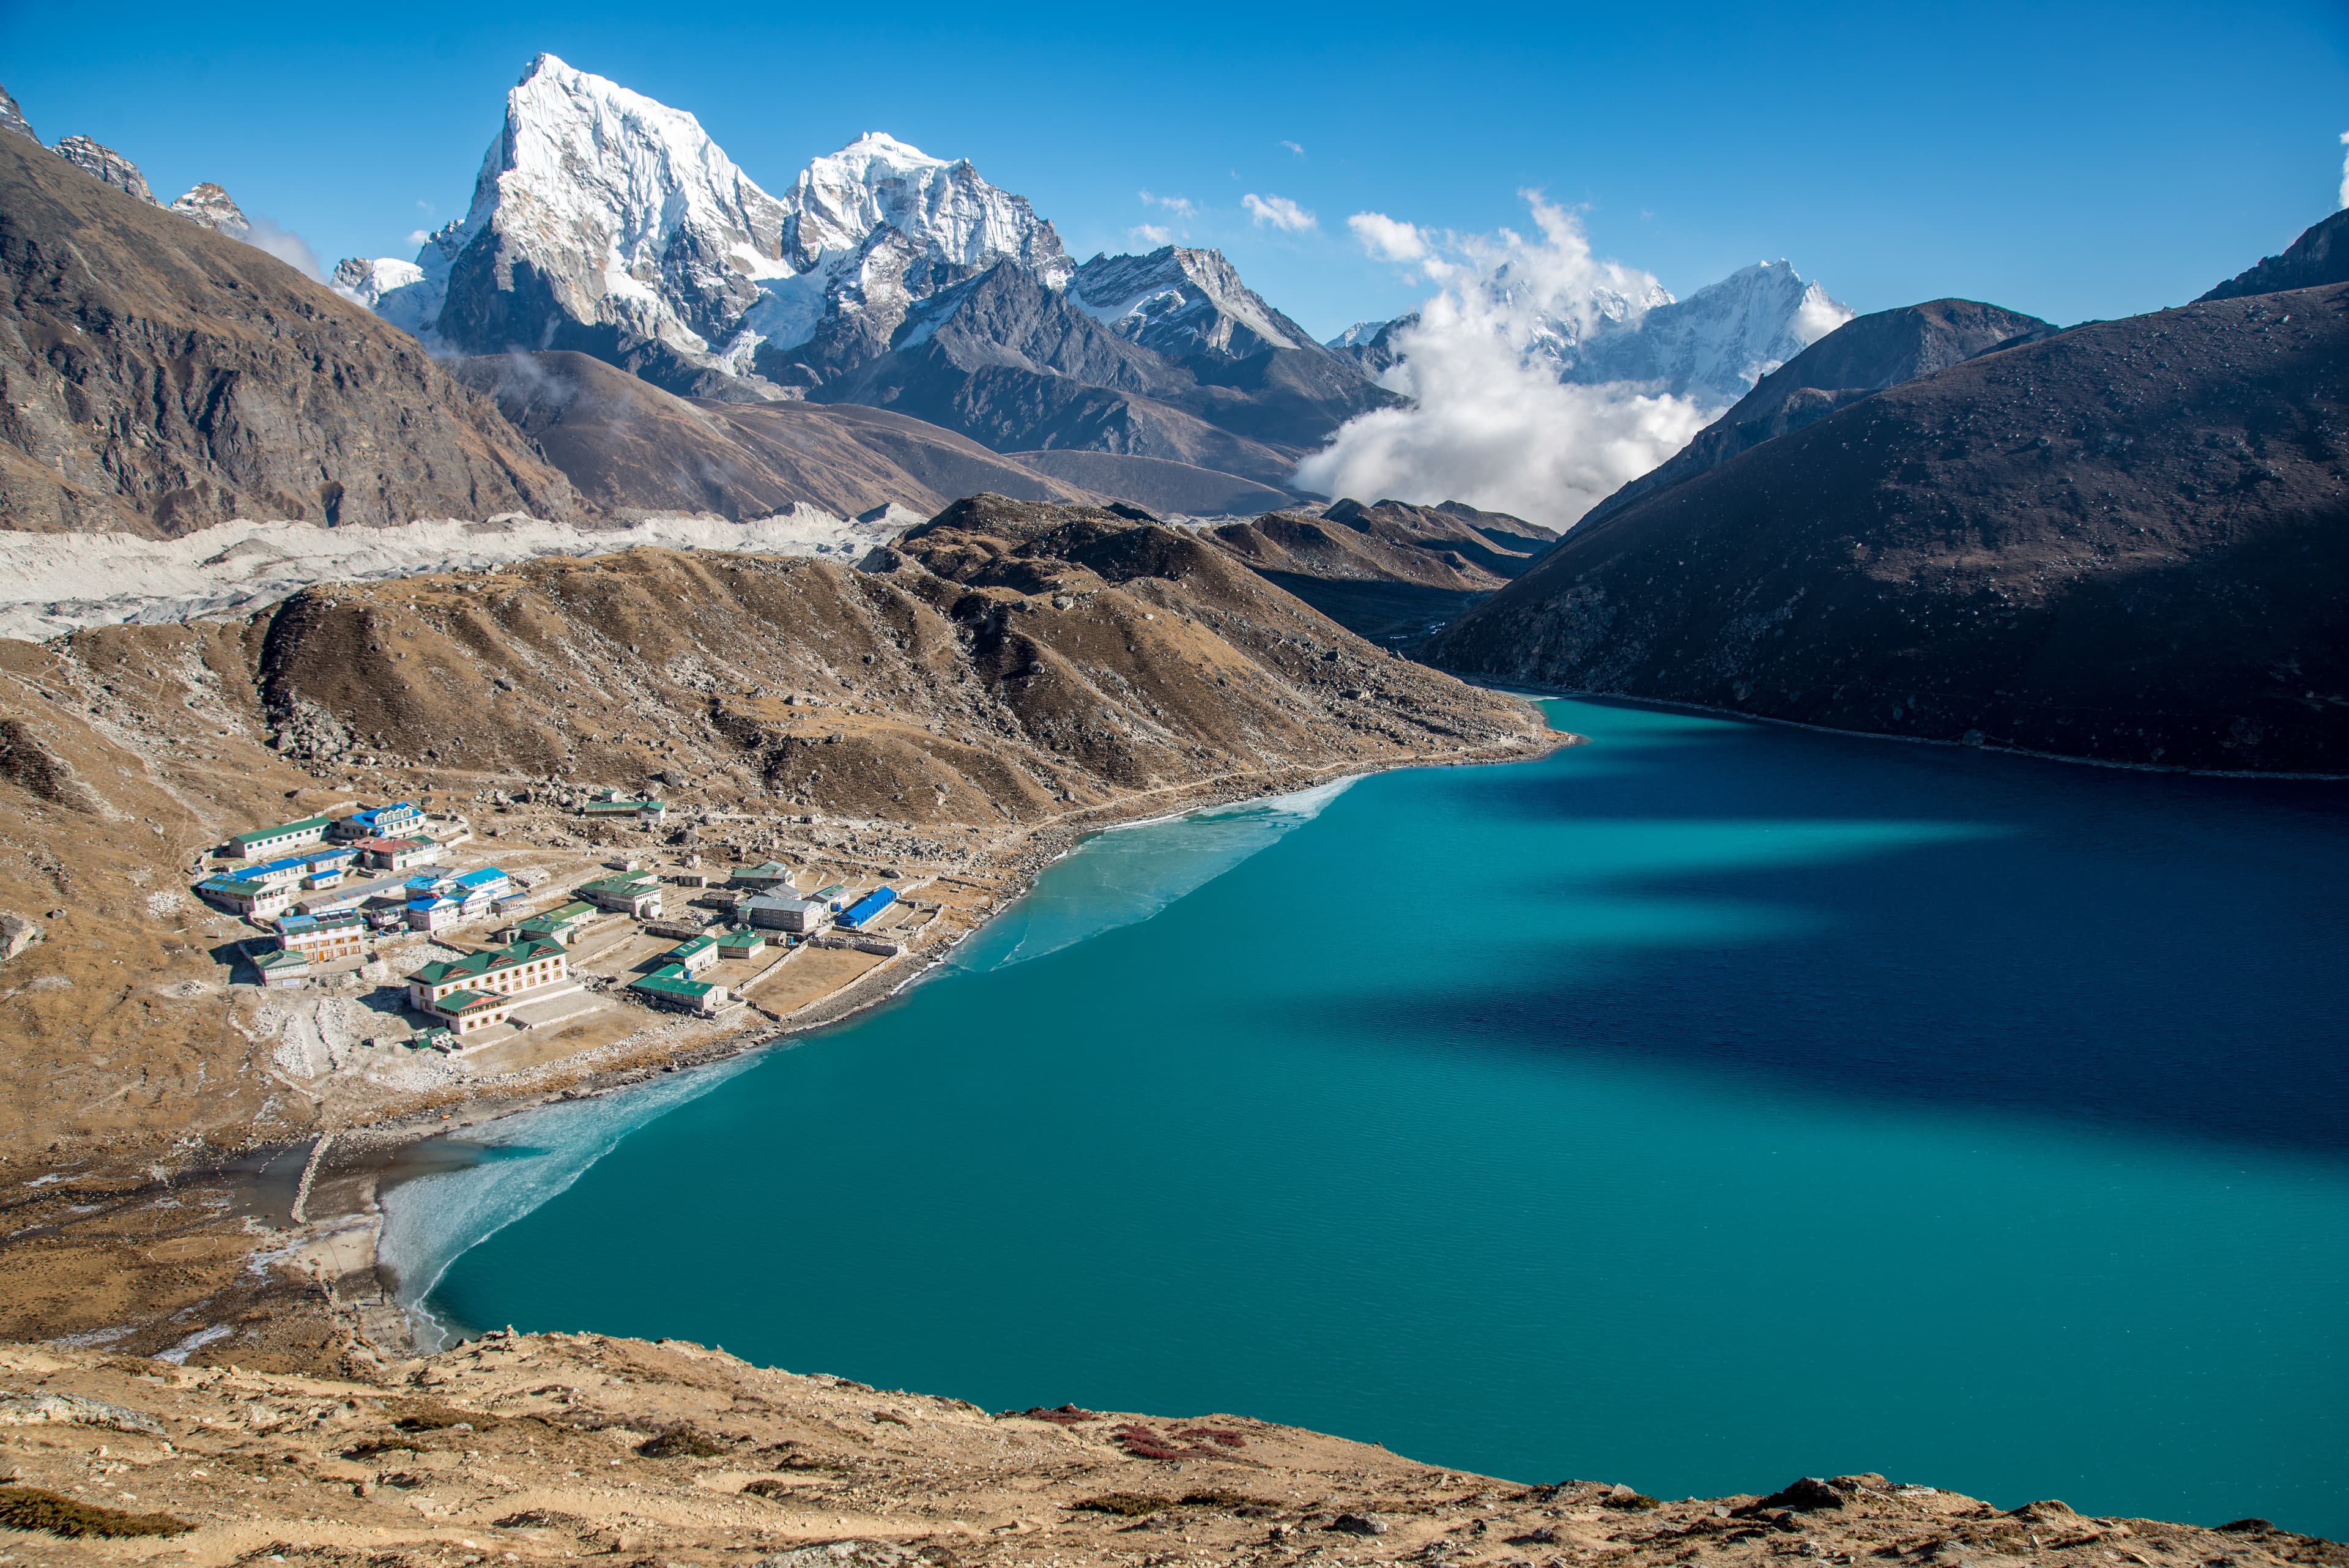
Gokyo Ri (5,357m): The lake and glacier combination makes this the most complex composition. Arrive 30 minutes earlier than Kalapatthar.
Sarangkot (1,590m): Shoot at dawn when the lake catches the same alpenglow as the peaks — this lasts only 8–12 minutes.
FAQ
Should I shoot manual or aperture priority at dawn? Aperture priority with exposure compensation allows faster response as light changes. Set EC to -1 initially for peaks, adjust as metering fluctuates with cloud movement.
Is a tripod essential for Himalayan sunrise? Yes for long exposures before full dawn. Even with image stabilisation, shots at 1/15s and below in -15 degrees require a tripod.
What white balance setting is correct? Shoot RAW and adjust in post. In camera, Cloudy or Shade WB preserves warmer tones for preview — helps with compositional decisions in the field.