Travel Tips
Photography Tips for the Everest Base Camp Trek
Essential advice for capturing stunning images on the world's most famous trek.
Overview
The Everest Base Camp trek is twelve to fourteen days of ascending Himalayan grandeur — Sherpa villages, glaciated valleys, yak caravans, and the mountain itself looming above the Khumbu Icefall. Every day offers fresh compositions. The challenge is not finding subjects but managing your gear at altitude, in cold, with a schedule that rarely pauses for photography.
Gear Considerations
Weight is your enemy. A mirrorless body with two lenses — a wide-angle zoom (16–35 mm) and a mid-range zoom (24–105 mm or 24–70 mm) — covers 95 percent of what you'll encounter. If you insist on a telephoto for Everest summit shots from Kala Patthar, bring a lightweight 70–300 mm but accept the trade-off in pack weight.
Batteries drain dramatically in cold. Carry at least three and rotate them inside your jacket between shots to keep them warm. A small power bank in an insulated sleeve helps overnight charging when lodges run generators for only a few hours.
Key Shot Locations
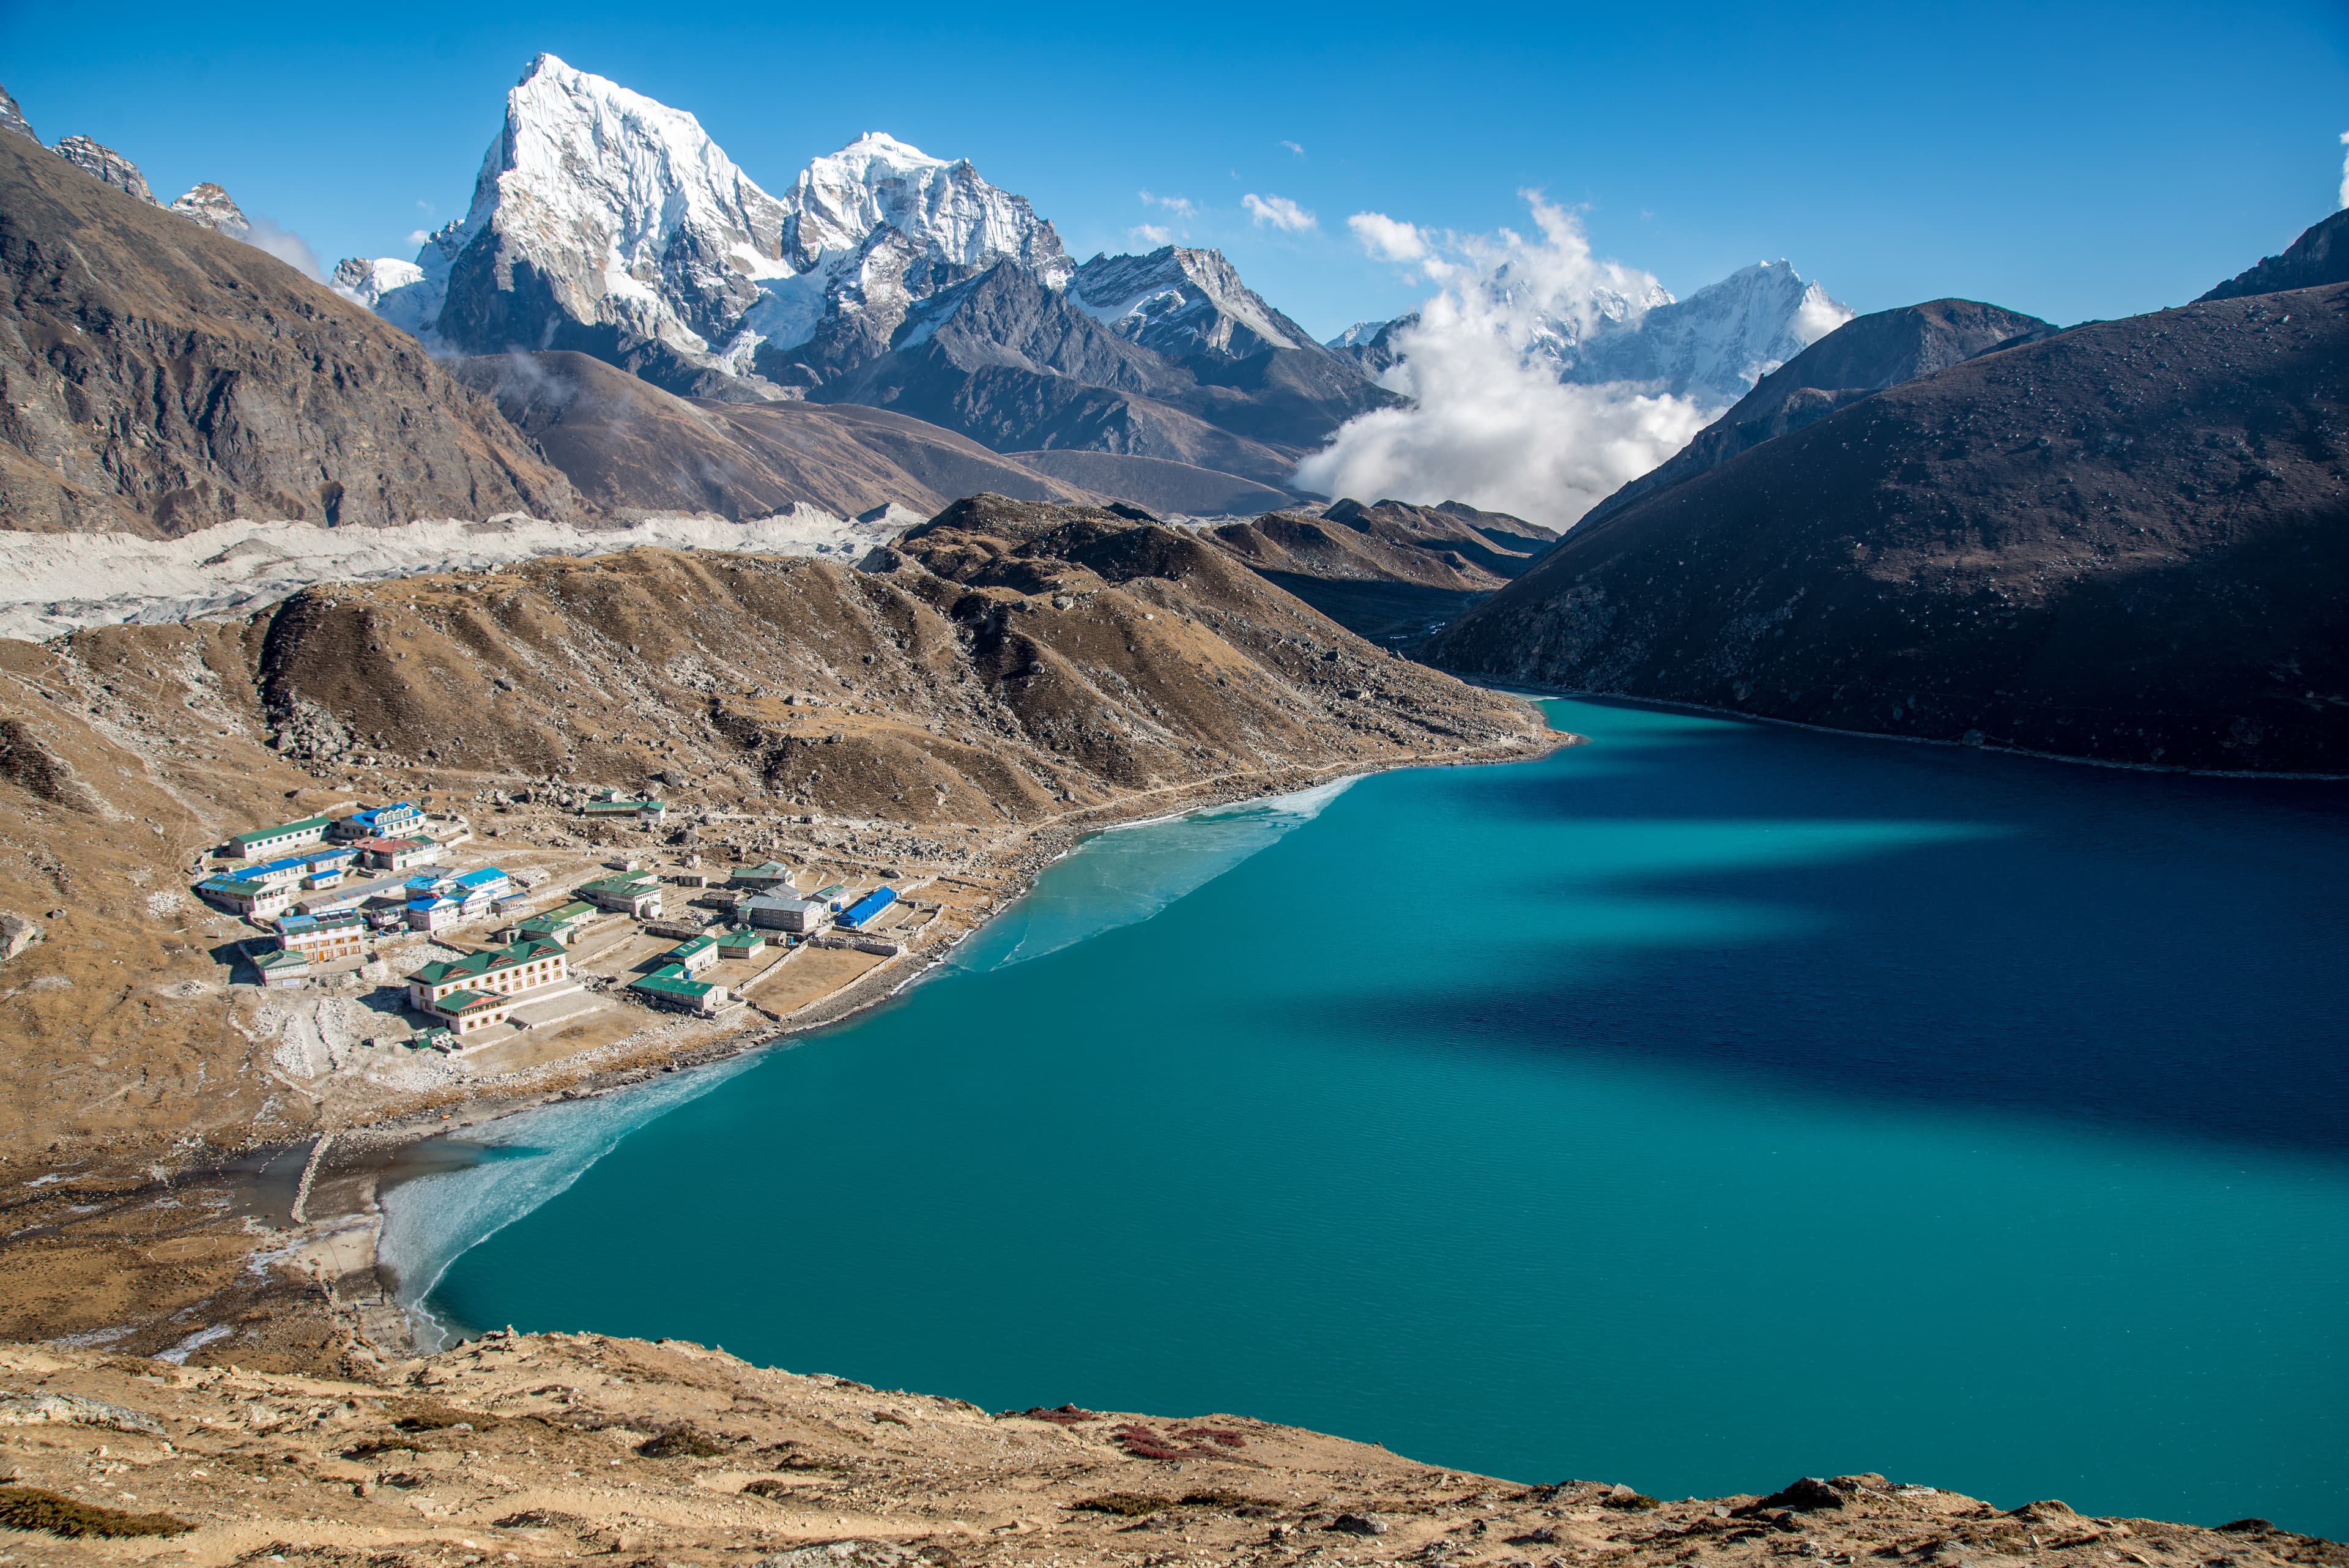
Namche Bazaar from the ridge above town: a horseshoe of coloured lodges with Kongde and Thamserku framing the left side. Arrive at the upper viewpoint before 7 a.m. for low angled light.
Planning this trip? 🎒
Don't stress about transport or guides. Sajilo offers verified cabs, luxury tourist buses, and expert guides across Nepal.
Tengboche Monastery against Ama Dablam: one of the defining images of the Khumbu. The monastery gate with the peak beyond needs nothing more than a clear morning and correct exposure for the bright snow.
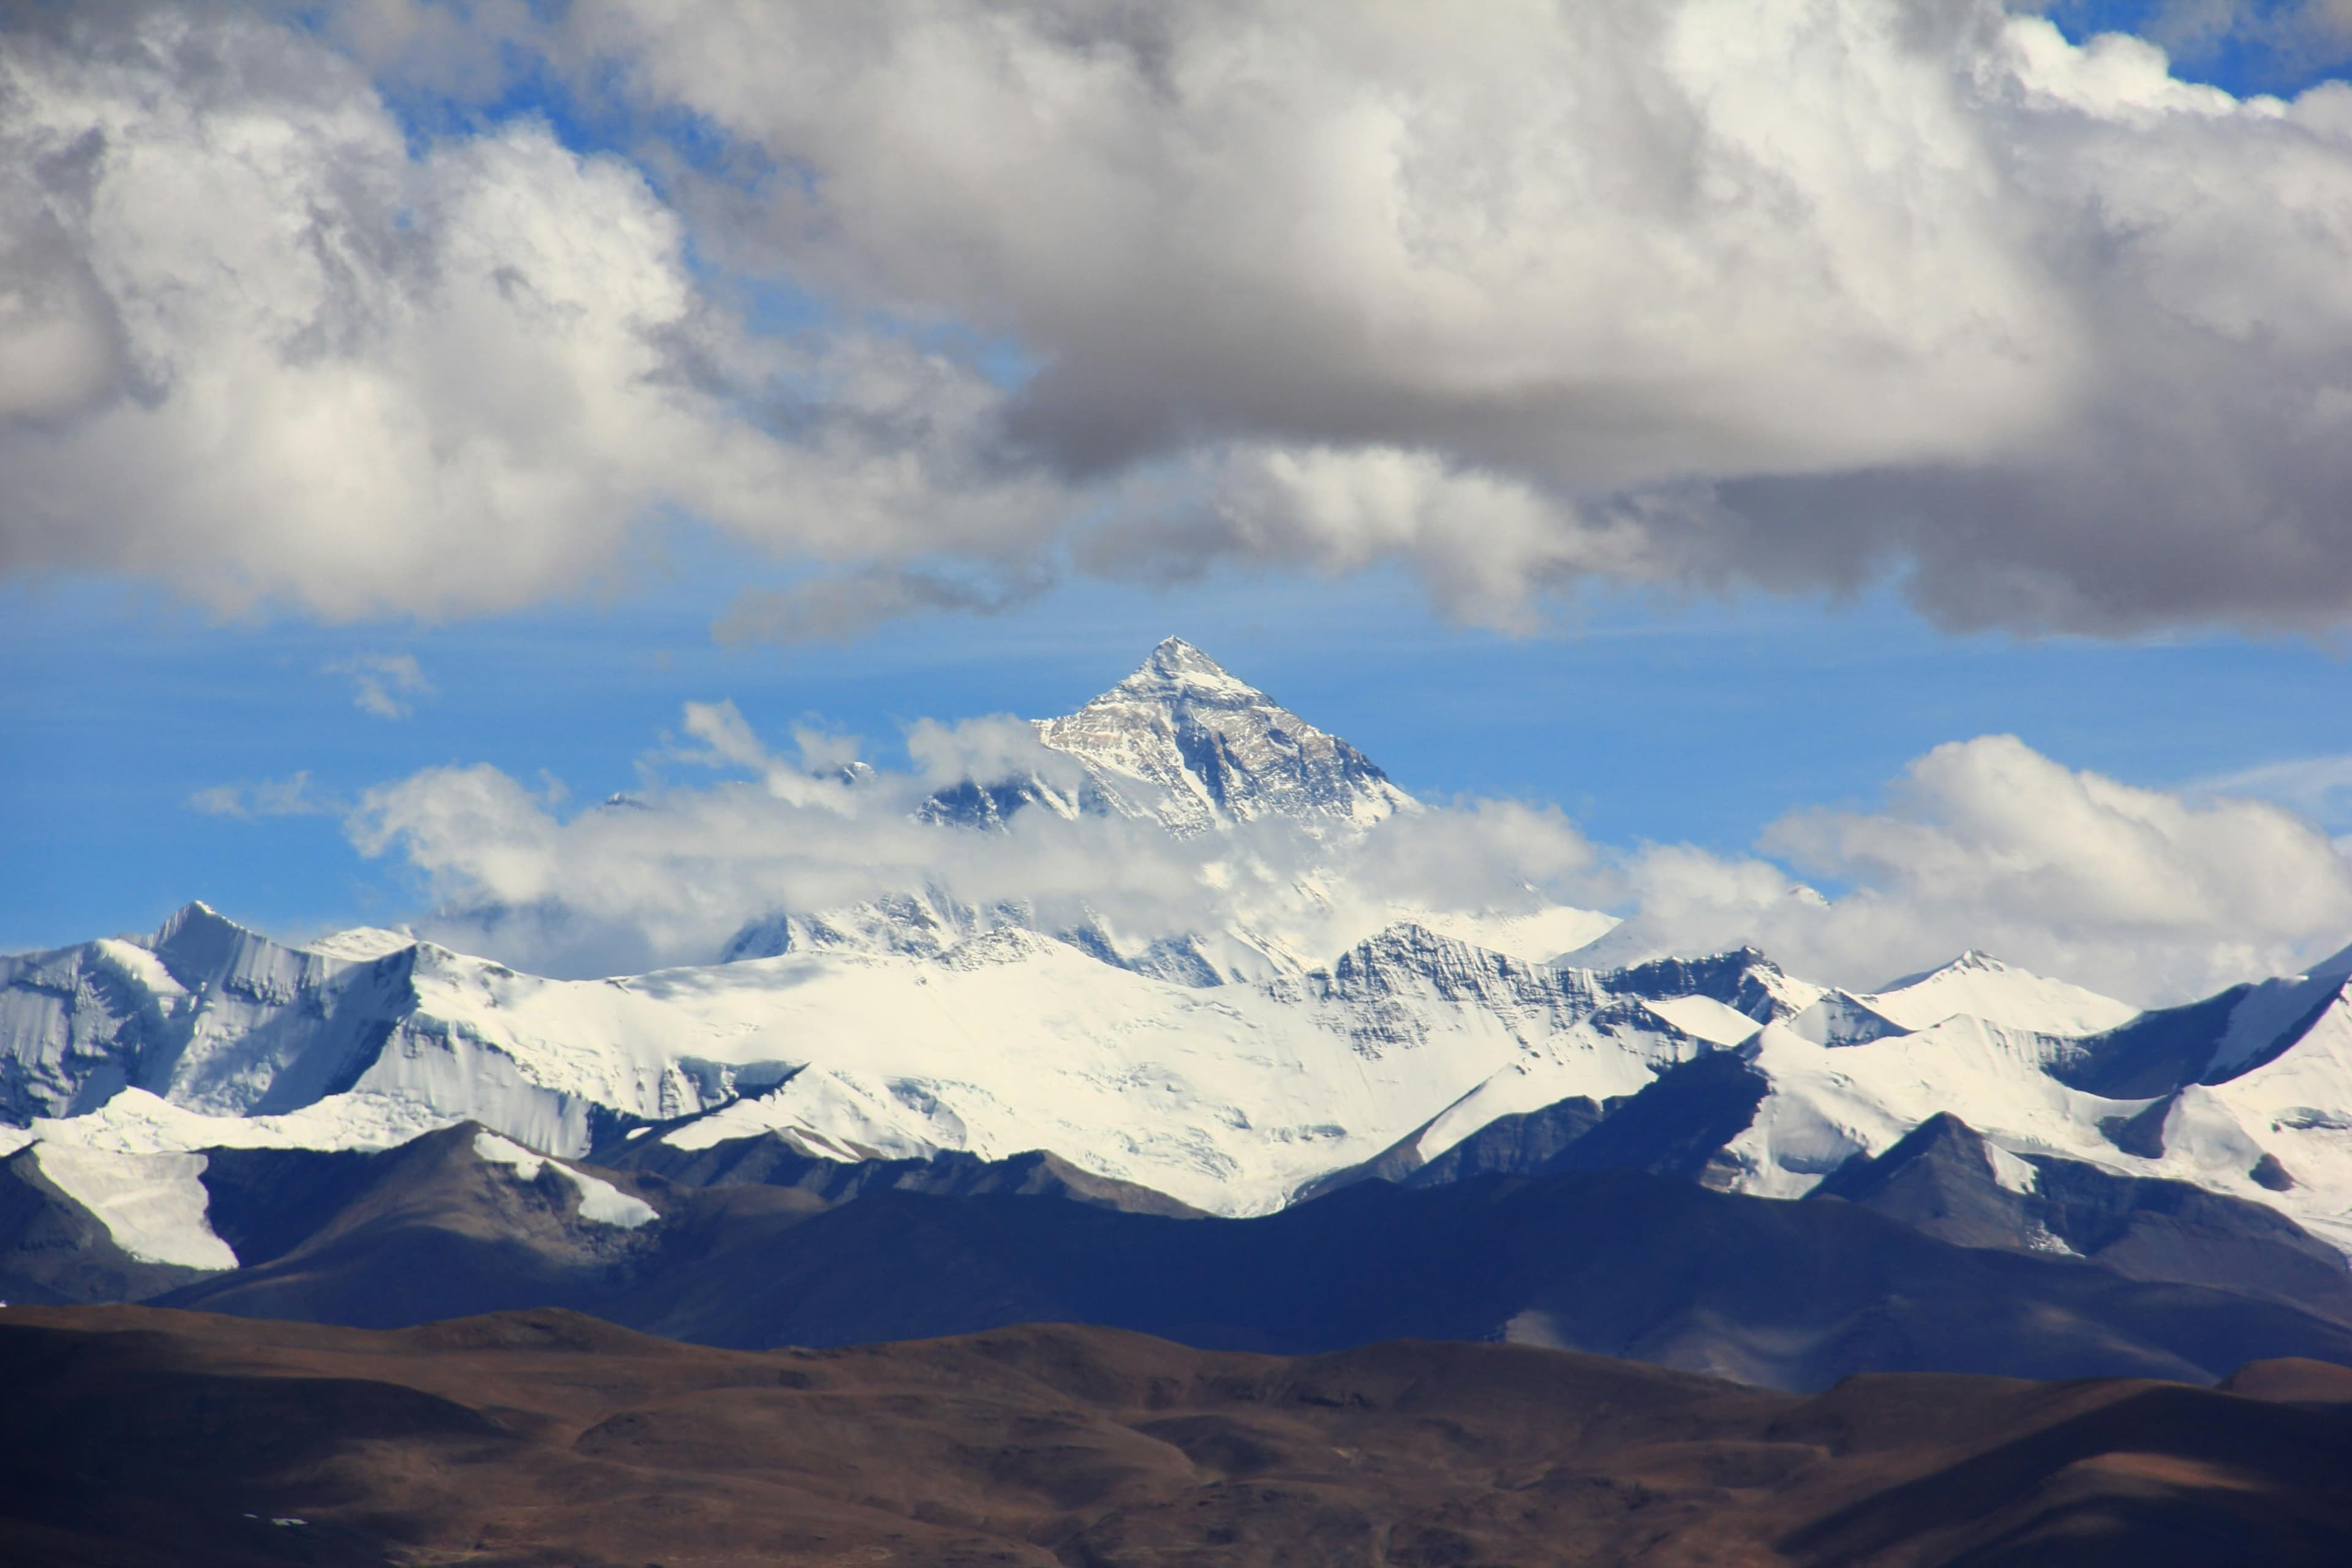
Kala Patthar at 5,545 metres: the standard viewpoint for Everest. Sunrise here is extraordinary but requires leaving your lodge at 4 a.m. in temperatures that can reach -15°C. Gloves with removable fingertips are essential for operating camera controls.
Altitude and Your Camera
Cold, dry air at altitude creates static that can attract sensor dust during lens changes. Change lenses inside your jacket or at least turn away from the wind. Condensation forms on lenses when you move from a cold exterior to a warm lodge interior — let the camera acclimatise in the porch or vestibule for ten minutes before using it inside.
FAQ
Q: Should I buy photography insurance for the trek?
Yes. Travel insurance covering gear loss or damage is highly recommended. Lodges are not responsible for theft, and a dropped camera on a rocky trail can end a trip.
Q: How do I handle dust and moisture on the trail?
A weather-sealed camera body is a significant asset. For non-sealed bodies, a simple rain cover (dry bag or dedicated camera cover) protects against the afternoon drizzle common in spring. A blower and microfibre cloth handle trail dust.
Q: What memory card capacity should I bring?
Bring more than you think you need. Two or three 128 GB cards allow you to shoot RAW without anxiety. Back up to a lightweight SSD every evening using a USB card reader.